Build an Arduino Smart Solar Tracking System for Science Fair

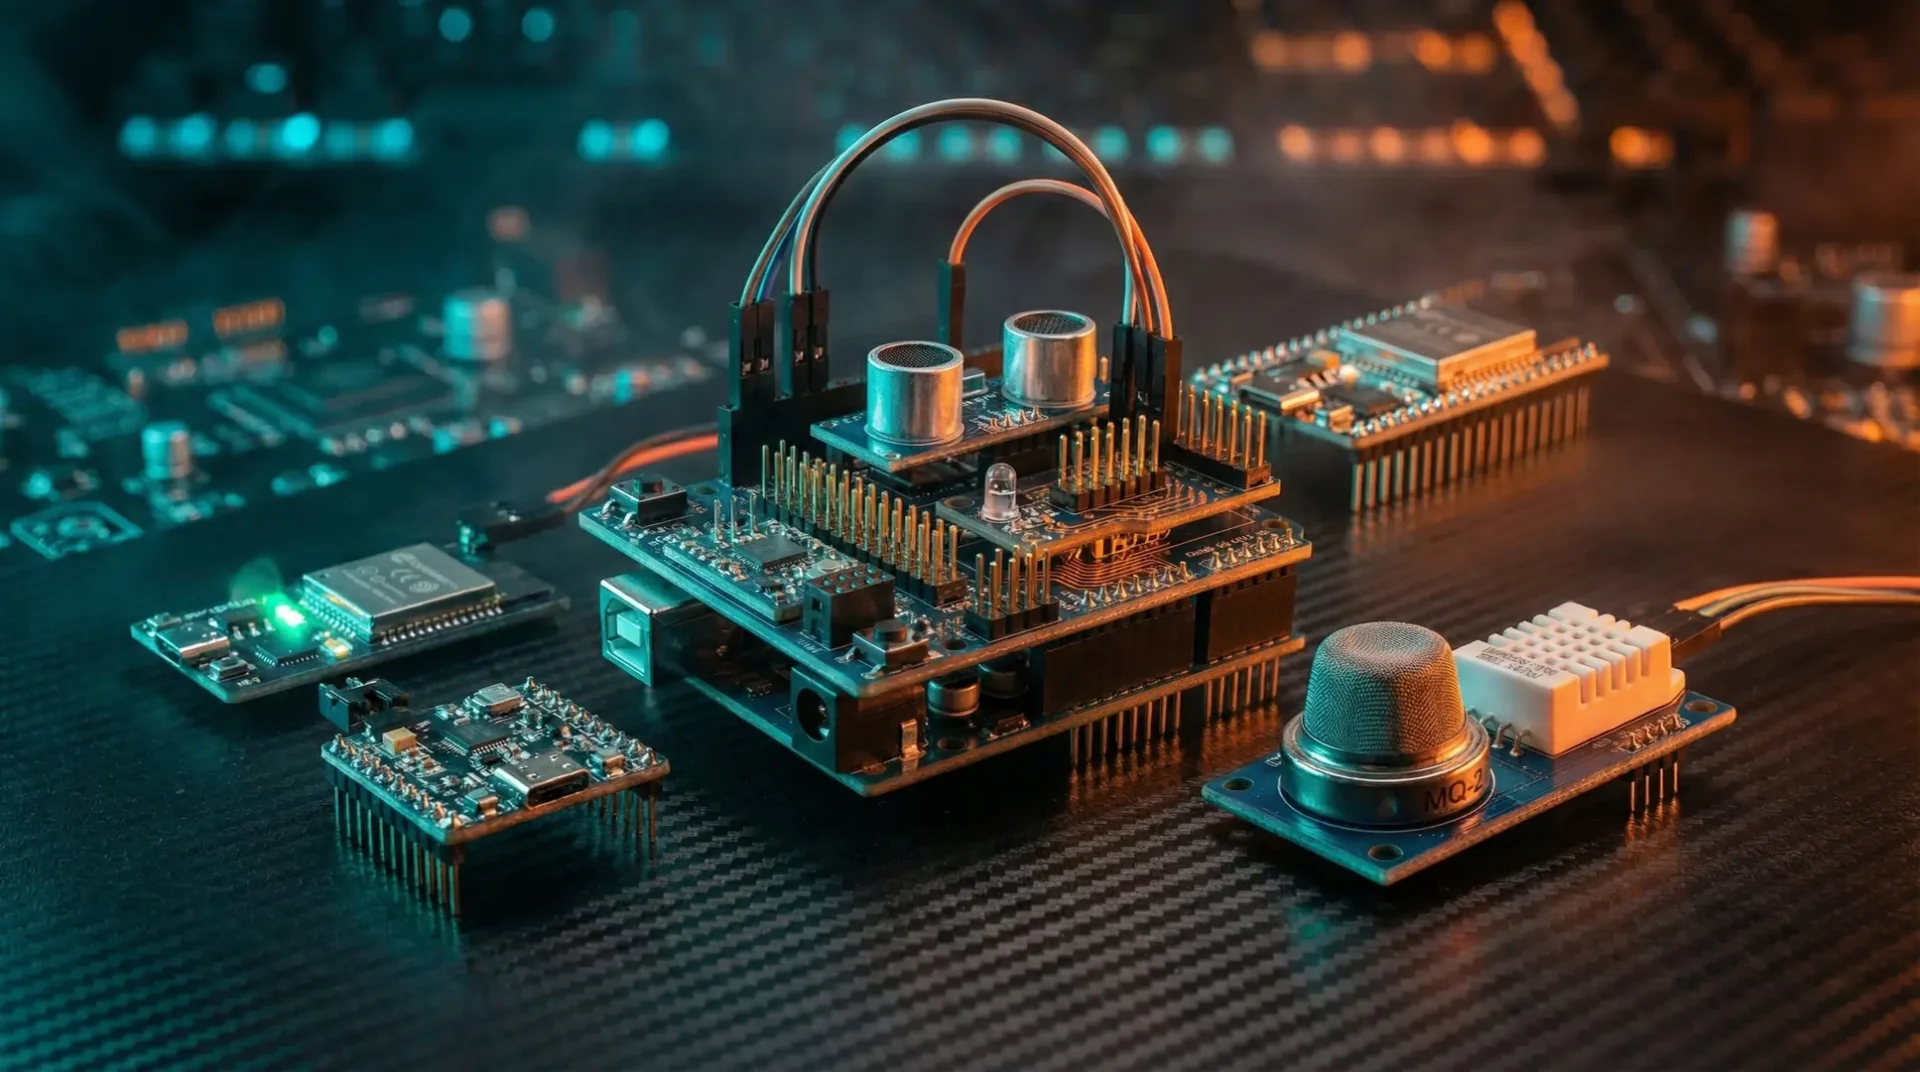
Β  πŸ“Š Project Overview Difficulty: Intermediate Time Required: 4–5 hours Age Group: 13–24 years Subject: Renewable Energy, Electronics, Coding Total Cost: β‚Ή800–₹1200 πŸ“‹ Table of Contents 1. Introduction to Solar Tracking 2. What You Will Learn 3. Components Needed 4. How It Works 5. Circuit Diagram 6. Step-by-Step Build 7. The Arduino Code 8. Troubleshooting Guide 9. Frequently Asked Questions β˜€οΈ Introduction to Solar Tracking Did you know that standard solar panels lose a massive amount of potential energy because the sun moves across the sky while the panels stay completely still? Building an arduino smart solar tracking system project is the perfect way to solve this real-world problem. By making the solar panel follow the sun, we can increase energy collection by up to 30%! In this comprehensive tutorial, we will build an automated system that senses light direction and rotates the solar panel to face the brightest light source. This is one of the most popular and impressive science projects for school exhibitions (CBSE, ICSE, and state boards) and college engineering fairs. Whether you are 13 years old or an engineering student, this project will teach you the fundamentals of green energy, sensor integration, and motor control. Let’s dive in and harness the power of the sun! 🧠 What You Will Learn Before we jump into the build, let’s look at the core concepts you will master by completing this project. This isn’t just about putting wires together; it’s about understanding the engineering behind modern renewable technology. πŸ’‘ Sensor Logic Understanding Light Dependent Resistors (LDR) Reading analog values with Arduino Creating voltage dividers βš™οΈ Motor Control Working with Servo Motors (MG90/MG996R) Generating PWM signals Mapping sensor data to angles πŸ”‹ Power Management Wiring Li-Ion batteries safely Using charging modules Isolating motor power from logic power πŸ“¦ Components Needed To build our arduino smart solar tracking system project, we need a mix of mechanical parts, electronic sensors, and a microcontroller. You can easily buy components from our shop if you don’t have them lying around. πŸ–₯️ Arduino Uno The brain of our project Processes sensor data Controls the servo motor πŸ“‘ LDR Sensor Modules (x2) Detects light intensity Provides analog output Acts as our “eyes” βš™οΈ Servo Motor (MG90 or MG996R) Rotates the solar panel Metal gears for durability 180-degree movement πŸ”‹ Power Supply 2x 18650 Li-Ion Batteries Battery Holder On/Off Switch Budget Breakdown Component Quantity Estimated Price (β‚Ή) Arduino Uno R3 with Cable 1 β‚Ή450 LDR Sensor Module 2 β‚Ή100 MG90 / MG996R Servo Motor 1 β‚Ή200 – β‚Ή350 Small Solar Panel (5V/9V) 1 β‚Ή150 Li-Ion Batteries + Holder + Switch 1 set β‚Ή250 Breadboard & Jumper Wires 1 set β‚Ή100 Total Estimated Cost Β  β‚Ή1250 – β‚Ή1400 βœ… Pro Tip: Mechanical Build You can use thick cardboard, MDF wood, or 3D printed parts for the stand. The key is making sure the solar panel is balanced on the servo motor so it doesn’t struggle to turn. πŸ”Œ How It Works The magic behind this project lies in a simple comparison. We place two LDR (Light Dependent Resistor) sensors on opposite sides of the solar panel. An LDR changes its electrical resistance based on how much light hits it. When it is bright, the resistance drops. When it is dark, the resistance goes up. πŸ’‘ The Logic Explained The Arduino continuously reads the analog values from both LDRs. If the right LDR receives more light than the left LDR, the Arduino tells the servo motor to rotate to the right. It keeps rotating until both LDRs receive the exact same amount of light, meaning the panel is facing directly at the sun! We use a small delay in our code to prevent the motor from jittering back and forth constantly. By adjusting the sensitivity in the code, we can make the tracking perfectly smooth. If you are a beginner, reading up on our Arduino basics for beginners guide can help you understand analog signals better. πŸ—ΊοΈ Circuit Diagram Wiring the system is straightforward. The most important rule is to ensure all grounds (GND) are connected together on the breadboard. Figure 1: Circuit diagram of the Smart Solar Tracking System. Ensure you connect the servo to a PWM pin (like Pin 9). Β  ⭐ Key Insight: Never power a heavy metal-gear servo (like the MG996R) directly from the Arduino’s 5V pin. Always use an external power source (like the Li-Ion batteries) for the motor, and ensure the battery ground is connected to the Arduino ground. πŸ› οΈ Step-by-Step Build Let’s put everything together. Follow these steps carefully to ensure a smooth build process. 1 Prepare the Base and Stand Take a solid base (like a wooden plank or thick acrylic sheet) to mount your project. Fix an L-shaped bracket or a vertical pillar to hold the servo motor. Secure the servo motor firmly to the pillar using screws. It should not wobble. 2 Mount the Solar Panel and Sensors Attach a flat platform (cardboard or plastic) to the servo motor horn. Glue or tape your solar panel to this platform. Mount one LDR module on the far left edge of the solar panel, and the second LDR on the far right edge. Ensure both sensors are facing straight up, aligned with the panel. 3 Wiring the Electronics Connect the VCC pins of both LDR modules to the 5V line on your breadboard. Connect the GND pins of both LDR modules to the GND line on the breadboard. Connect the OUT/A0 pin of the Left LDR to Arduino Analog Pin A0. Connect the OUT/A0 pin of the Right LDR to Arduino Analog Pin A1. Connect the Servo Signal wire (usually yellow or orange) to Arduino Digital Pin 9. 4 Connecting Power Place the two 18650 Li-Ion batteries into the battery holder. Wire the positive wire through the switch, then to the Servo’s VCC (Red wire). Connect the battery negative wire to the breadboard GND line. Connect the Arduino GND to the same breadboard GND line. Power the Arduino either via

Build a Humanoid Fire Fighter Robot with NodeMCU for School

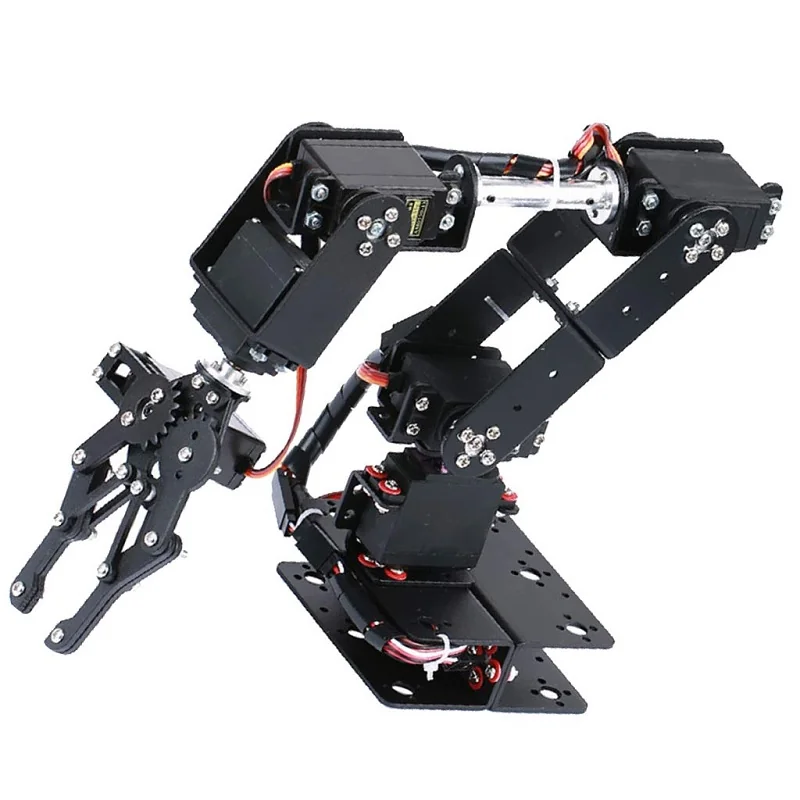
πŸ“Š Project Overview Difficulty: Intermediate Time Required: 4–6 hours Age Group: 12–18 years Subject: Robotics, IoT, Fire Safety Total Cost: β‚Ή1,500–₹2,000 πŸ“‹ Table of Contents 1. Introduction 2. What You Will Learn 3. Components Needed 4. How It Works 5. Step-by-Step Build 6. Circuit Diagram 7. Code 8. Troubleshooting 9. FAQ πŸ”₯ Introduction to the Humanoid Fire Fighter Robot Fire accidents in homes, schools, and hospitals are dangerous, and sending humans inside to extinguish them can be life-threatening. What if we could send a robot instead? In this exciting project, we will build a humanoid fire fighter robot that can be controlled wirelessly using your smartphone. This isn’t just a simple car; it’s designed to look like a humanoid robot, complete with a “head” that holds a camera for live video streaming and a “body” that carries a water tank and a Bluetooth speaker for making emergency announcements. By using the NodeMCU ESP8266, we can control the robot’s movement and water pump from a safe distance over Wi-Fi. This is an excellent project for science exhibitions and Class 10–12 STEM submissions. 🧠 What You Will Learn πŸ“‘ IoT Control Control motors via Wi-Fi Create a web interface Wireless pump activation πŸ“· Live Surveillance Stream video to phone Remote monitoring First-person view (FPV) πŸ”Š Safety Features Remote voice announcements Fire extinguishing system Sunboard chassis design πŸ“¦ Components Needed To build this robot, you will need the following electronic components and materials. You can find most of these on the STEM ROBO HUB store. 🧠 NodeMCU ESP8266 Wi-Fi microcontroller Controls motors & pump Creates local server πŸš— BO Motors & Wheels 4x Gear motors (150RPM) 4x Rubber wheels High torque for load πŸ’¦ Water System 5V Submersible Pump Flexible pipe Small water container πŸ”‹ Power & Drive L298N Motor Driver 2x 18650 Li-ion Batteries Battery Holder (2-slot) Component Quantity Approx. Price (β‚Ή) NodeMCU ESP8266 1 β‚Ή350 L298N Motor Driver 1 β‚Ή180 BO Motors + Wheels 4 β‚Ή300 5V Water Pump + Pipe 1 β‚Ή150 18650 Battery + Holder 1 set β‚Ή250 Sunboard Sheet (A3) 2 β‚Ή100 Mini Bluetooth Speaker 1 β‚Ή250 Total β‚Ή1,580 βš™οΈ How It Works πŸ’‘ The Dual-Phone Setup This robot uses a clever “Dual-Phone” system. One smartphone is mounted on the robot’s “head” to act as an IP Camera, streaming live video to the user. The second smartphone is in your hand, used to view the video and control the robot’s movement via Wi-Fi. The core of the robot is the NodeMCU ESP8266. It connects to your mobile phone via Wi-Fi and creates a web server (or connects to an app like Blynk). When you press buttons on your phone screen, the NodeMCU receives the commands and instructs the L298N motor driver to spin the motors forward, backward, left, or right. For the fire-fighting mechanism, a 5V water pump is connected to a relay or transistor controlled by the NodeMCU. When you press the “Extinguish” button on your app, the pump activates, spraying water through a pipe mounted on the robot’s arm. Additionally, a small Bluetooth speaker on the robot allows you to play recorded voice messages like “Evacuate immediately!” from your phone, making it a true rescue robot. πŸ› οΈ Step-by-Step Build 1 Build the Chassis Cut a piece of Sunboard (approx. 20cm x 15cm) for the base. Cut two vertical side panels to resemble the “legs” and “body” of a humanoid robot. Attach the 4 BO motors to the base using glue or clamps. Fix the wheels onto the motors. 2 Mount the Water System Place a small plastic container (like a cut water bottle) on the back of the chassis to hold water. Submerge the 5V water pump inside the container. Route the output pipe along the robot’s “arm” so it points forward. You can use a zip tie to secure it. 3 Install Electronics Mount the L298N motor driver in the center of the chassis. Place the NodeMCU on a small breadboard or stick it directly using double-sided tape. Secure the 18650 battery holder at the rear for balance. 4 The Humanoid “Head” & Speaker Cut a Sunboard piece to form a head/neck structure. Attach a mobile phone holder or a simple slot to hold the “Camera Phone”. Mount the mini Bluetooth speaker on the chest area of the robot. This will be used for announcements. πŸ”Œ Circuit Diagram Follow these connections carefully to ensure your robot works correctly. Figure 1: Wiring diagram for NodeMCU, L298N, and Water Pump ⭐ Key Connection Tip: The NodeMCU operates on 3.3V logic, but the L298N works fine with it. However, never power the motors directly from the NodeMCU pins. Always use the 18650 batteries to power the L298N and Pump. Motors to L298N: Connect left motors to OUT1 & OUT2; right motors to OUT3 & OUT4. L298N to NodeMCU: IN1 β†’ D1 (GPIO 5) IN2 β†’ D2 (GPIO 4) IN3 β†’ D3 (GPIO 0) IN4 β†’ D4 (GPIO 2) Water Pump: Connect the pump through a Relay Module or a TIP122 transistor. Connect the Relay Signal pin to NodeMCU D5 (GPIO 14). Power: Connect the 7.4V (2x Li-ion) battery pack to the 12V and GND terminals of the L298N. Connect the L298N’s 5V output to the NodeMCU VIN pin to power the microcontroller. πŸ’» Code We will use a simple Web Server code. This code creates buttons on a webpage to control the robot and the pump. Upload this using the Arduino IDE. Humanoid_Robot.ino Arduino C++ #include const char* ssid = “FireFighterBot”; // Name of your Robot’s Wi-Fi const char* password = “12345678”; // Password WiFiServer server(80); // Motor Pins int IN1 = 5; // D1 int IN2 = 4; // D2 int IN3 = 0; // D3 int IN4 = 2; // D4 // Pump Pin int PUMP = 14; // D5 void setup() { Serial.begin(115200); pinMode(IN1, OUTPUT); pinMode(IN2, OUTPUT); pinMode(IN3, OUTPUT); pinMode(IN4, OUTPUT); pinMode(PUMP, OUTPUT); // Stop everything initially digitalWrite(IN1, LOW); digitalWrite(IN2, LOW); digitalWrite(IN3, LOW); digitalWrite(IN4, LOW); digitalWrite(PUMP, HIGH); // Assuming Relay is Active LOW //

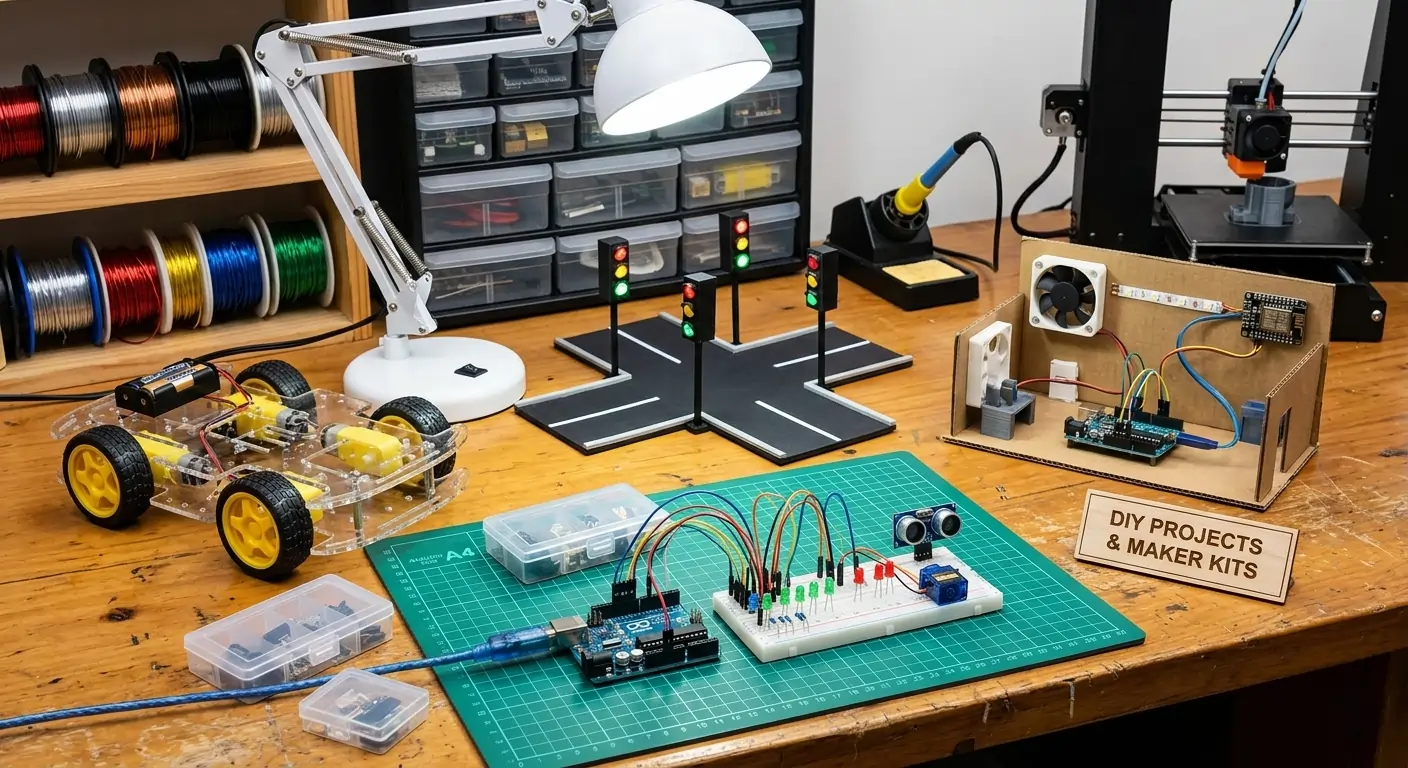
Smart Traffic Light System Using Arduino: Complete DIY Guide

Are you looking to build an intelligent traffic control system using Arduino? This comprehensive guide will walk you through creating a smart traffic light system that mimics real-world traffic management. Perfect for students, hobbyists, and robotics enthusiasts! πŸ“‹ Table of Contents What is a Smart Traffic Light System? Why Build This Arduino Project? Components Required Circuit Diagram and Connections Arduino Code How It Works Step-by-Step Assembly Troubleshooting Project Variations FAQs Β  🚦 What is a Smart Traffic Light System? A smart traffic light system is an automated traffic control project that uses Arduino microcontroller to manage traffic flow at intersections. Unlike traditional timer-based systems, smart systems can adapt to traffic density using sensors, making them more efficient and realistic. 🎯 Key Features Automated signal control Programmable timing sequences Four-way intersection management Real-time traffic light switching Emergency vehicle priority ⚑ Smart Capabilities Sensor-based density detection Dynamic timing adjustment IoT integration ready Customizable logic Scalable design Β  πŸ’‘ Why Build This Arduino Project? πŸŽ“ Educational Value Microcontroller Programming: Learn C/C++ in a practical context Real-World IoT: Understand how smart city systems work Traffic Management: Grasp engineering concepts behind traffic control Hands-On Electronics: Build practical circuits and debug hardware πŸ† Practical Applications Perfect for school science fair projects Excellent for college engineering demonstrations Great portfolio piece for aspiring engineers Ideal for robotics competition entries Β  πŸ”§ Components Required for Smart Traffic Light System Essential Components Arduino Board Arduino UNO (recommended) Arduino Mega (advanced) LEDs 12x Red LEDs (5mm) 12x Yellow LEDs (5mm) 12x Green LEDs (5mm) Other Components 12x 220Ξ© resistors Breadboard Jumper wires USB cable πŸ’° Cost Estimate Basic Setup: $28-46 USD Advanced Setup (with sensors): $48-70 USD Perfect for students on a budget! All components readily available online. Β  πŸ“ Circuit Diagram and Connections All components required for building the smart traffic system Pin Configuration πŸ”΄ Road 1 (North) Red LED β†’ Pin 2 Yellow LED β†’ Pin 3 Green LED β†’ Pin 4 πŸ”΄ Road 2 (East) Red LED β†’ Pin 5 Yellow LED β†’ Pin 6 Green LED β†’ Pin 7 πŸ”΄ Road 3 (South) Red LED β†’ Pin 8 Yellow LED β†’ Pin 9 Green LED β†’ Pin 10 πŸ”΄ Road 4 (West) Red LED β†’ Pin 11 Yellow LED β†’ Pin 12 Green LED β†’ Pin 13 Complete circuit diagram showing all LED connections to Arduino UNO ⚠️ Important: Always connect a 220Ξ© resistor in series with each LED to prevent burnout. The longer leg of the LED is positive (anode) and shorter leg is negative (cathode). Β  πŸ’» Arduino Code for Smart Traffic Light System Basic Traffic Light Code Arduino Code – Basic VersionC++ // Arduino Smart Traffic Light System // Define LED pins for each direction // Road 1 – North int red1 = 2; int yellow1 = 3; int green1 = 4; // Road 2 – East int red2 = 5; int yellow2 = 6; int green2 = 7; // Road 3 – South int red3 = 8; int yellow3 = 9; int green3 = 10; // Road 4 – West int red4 = 11; int yellow4 = 12; int green4 = 13; // Timing variables (in milliseconds) int greenDelay = 5000; // 5 seconds int yellowDelay = 2000; // 2 seconds void setup() { // Initialize all LED pins as OUTPUT pinMode(red1, OUTPUT); pinMode(yellow1, OUTPUT); pinMode(green1, OUTPUT); pinMode(red2, OUTPUT); pinMode(yellow2, OUTPUT); pinMode(green2, OUTPUT); pinMode(red3, OUTPUT); pinMode(yellow3, OUTPUT); pinMode(green3, OUTPUT); pinMode(red4, OUTPUT); pinMode(yellow4, OUTPUT); pinMode(green4, OUTPUT); // Start with all red lights on (safe state) digitalWrite(red1, HIGH); digitalWrite(red2, HIGH); digitalWrite(red3, HIGH); digitalWrite(red4, HIGH); } void loop() { // Traffic Signal Sequence // Road 1 – Green (Others Red) trafficSignal(green1, yellow1, red1, red2, red3, red4); // Road 2 – Green (Others Red) trafficSignal(green2, yellow2, red2, red1, red3, red4); // Road 3 – Green (Others Red) trafficSignal(green3, yellow3, red3, red1, red2, red4); // Road 4 – Green (Others Red) trafficSignal(green4, yellow4, red4, red1, red2, red3); } // Function to control traffic signal sequence void trafficSignal(int green, int yellow, int red, int r2, int r3, int r4) { // Turn on green light digitalWrite(green, HIGH); digitalWrite(yellow, LOW); digitalWrite(red, LOW); // Keep other roads red digitalWrite(r2, HIGH); digitalWrite(r3, HIGH); digitalWrite(r4, HIGH); delay(greenDelay); // Switch to yellow digitalWrite(green, LOW); digitalWrite(yellow, HIGH); delay(yellowDelay); // Switch to red digitalWrite(yellow, LOW); digitalWrite(red, HIGH); delay(1000); // Brief pause before next signal } βœ… Code Features Clean and well-commented for beginners Easy to modify timing values Modular function design for reusability Safe initialization with all-red state Β  βš™οΈ How the Smart Traffic System Works 1️⃣ Initialization All lights start RED (safety first) Arduino sets up all pin modes System enters main control loop 2️⃣ Sequential Control Signals rotate clockwise Each direction gets green turn Smooth transition: Green β†’ Yellow β†’ Red 3️⃣ Timing Mechanism Green: 5 seconds (adjustable) Yellow: 2 seconds (warning) Red: Until next turn 4️⃣ Safety Features All-red phase ensures safe transition Yellow warning prevents accidents No conflicting green lights Β  πŸ”¨ Step-by-Step Assembly Guide 1 Prepare the Breadboard Place breadboard on a stable, clean surface Identify power rails (+) and ground rails (-) Plan LED placement for four directions 2 Connect the LEDs Insert LEDs into breadboard (note polarity!) Maintain proper spacing between each set Group LEDs by direction for visual clarity 3 Add Resistors Connect 220Ξ© resistor to positive leg of each LED Resistors prevent LED burnout (critical!) Color code verification: Red-Red-Brown = 220Ξ© 4 Wire to Arduino Connect resistor ends to Arduino pins 2-13 Connect all LED negative legs to common ground Use different colored wires for easy troubleshooting 5 Power Connection Connect Arduino to computer via USB cable Or use external 9V battery for portable operation 6 Program Arduino Open Arduino IDE on your computer Copy and paste the provided code Select correct board: Tools β†’ Board β†’ Arduino UNO Select correct port: Tools β†’ Port β†’ (Your COM port) Click Upload button (β†’) and wait for completion 7 Testing & Verification Observe LED sequence carefully Verify timing accuracy with stopwatch Check for any loose connections Adjust